Hey y'all! Are you ready to up your Minecraft game with some custom skins? You've come to the right place! In this post, we're gonna show you how to create and download some absolutely amazing custom skins. Get ready to impress your friends with your new look!
Best Custom Skins in the Game
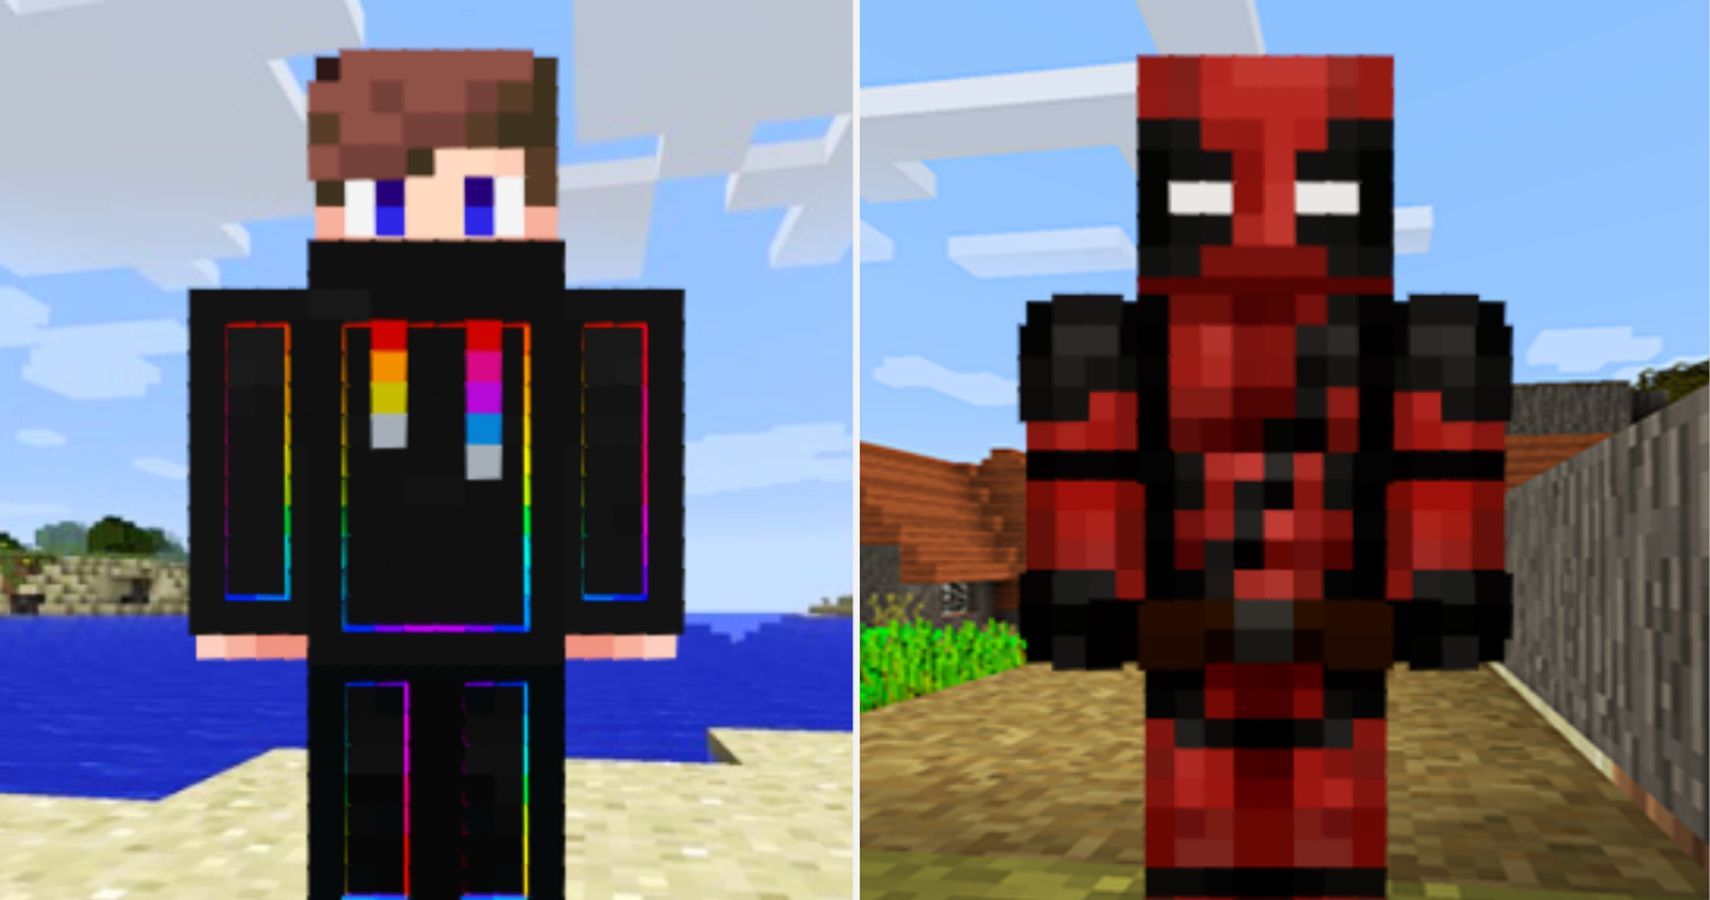
1. Superhero Skins
Who doesn't love superheroes? There are tons of superhero skins available online, so you can be your favorite hero while playing Minecraft. Whether you want to be Spiderman swinging through the trees or Captain America battling zombies, you can find a skin that will make you feel like a true hero.
2. Animal Skins
If you're more of an animal lover, you can also find tons of animal skins online. You can be anything from a cute little panda to a fierce tiger. Not only will you look adorable (or cool, depending on the animal), but you'll also fit right in with Minecraft's natural surroundings.

3. Fantasy Skins
If you want to let your imagination run wild, try out some fantasy skins. You can be a magical fairy or a fierce dragon. With these skins, the possibilities are endless. You can create your own fantasy world within Minecraft and feel like the hero of your own story.

How to Create a Custom Skin
Now that you've got an idea of what kind of skin you want, it's time to create it! Here's how:
1. Choose a Skin Template
The easiest way to create a custom skin is to start with a template. You can find tons of templates online, or you can use Minecraft's default template, Steve. A template is basically a blank skin that you can customize to your liking.
2. Customize Your Skin
This is where the fun begins! You can use any photo editing software to customize your skin. We recommend using software that allows you to work with layers, so you can easily add or remove elements from your skin. You can add clothing, accessories, or even change the color of your character's hair or eyes. The sky's the limit!
3. Upload Your Skin
Once you've finished customizing your skin, save it as a PNG file. Then, log in to your Minecraft account and navigate to your profile. Under the "Change how you look in Minecraft" section, you'll see an option to upload a new skin. Click on this option and select the PNG file that you just saved. That's it! Your custom skin is now applied to your character.
Tips and Ideas
If you're looking for some inspiration, here are some tips and ideas to help you create the perfect custom skin:
1. Think Outside the Box
Don't be afraid to create something unique or unconventional. You can create a skin that looks like your favorite celebrity or a character from your favorite TV show or movie. You can also try creating a skin based on your favorite food or drink. The possibilities are endless!
2. Simplify Your Design
Keep in mind that Minecraft characters are relatively simple in design. Avoid adding too many details or elements to your skin, as it may look cluttered or overwhelming. Try to stick to the basics and create a design that is easy to recognize and visually appealing.
3. Get Feedback
If you're not sure about your design, ask for feedback from friends or the Minecraft community. You can post your skin on social media or Minecraft forums to get opinions and suggestions. This can also help you improve your skills and learn new ideas for future skins.
Conclusion
That's all for now, folks! We hope that this post has inspired you to create some amazing custom skins. Remember to have fun and let your imagination run wild. Happy crafting!
View more articles about How To Make Minecraft Custom Skins