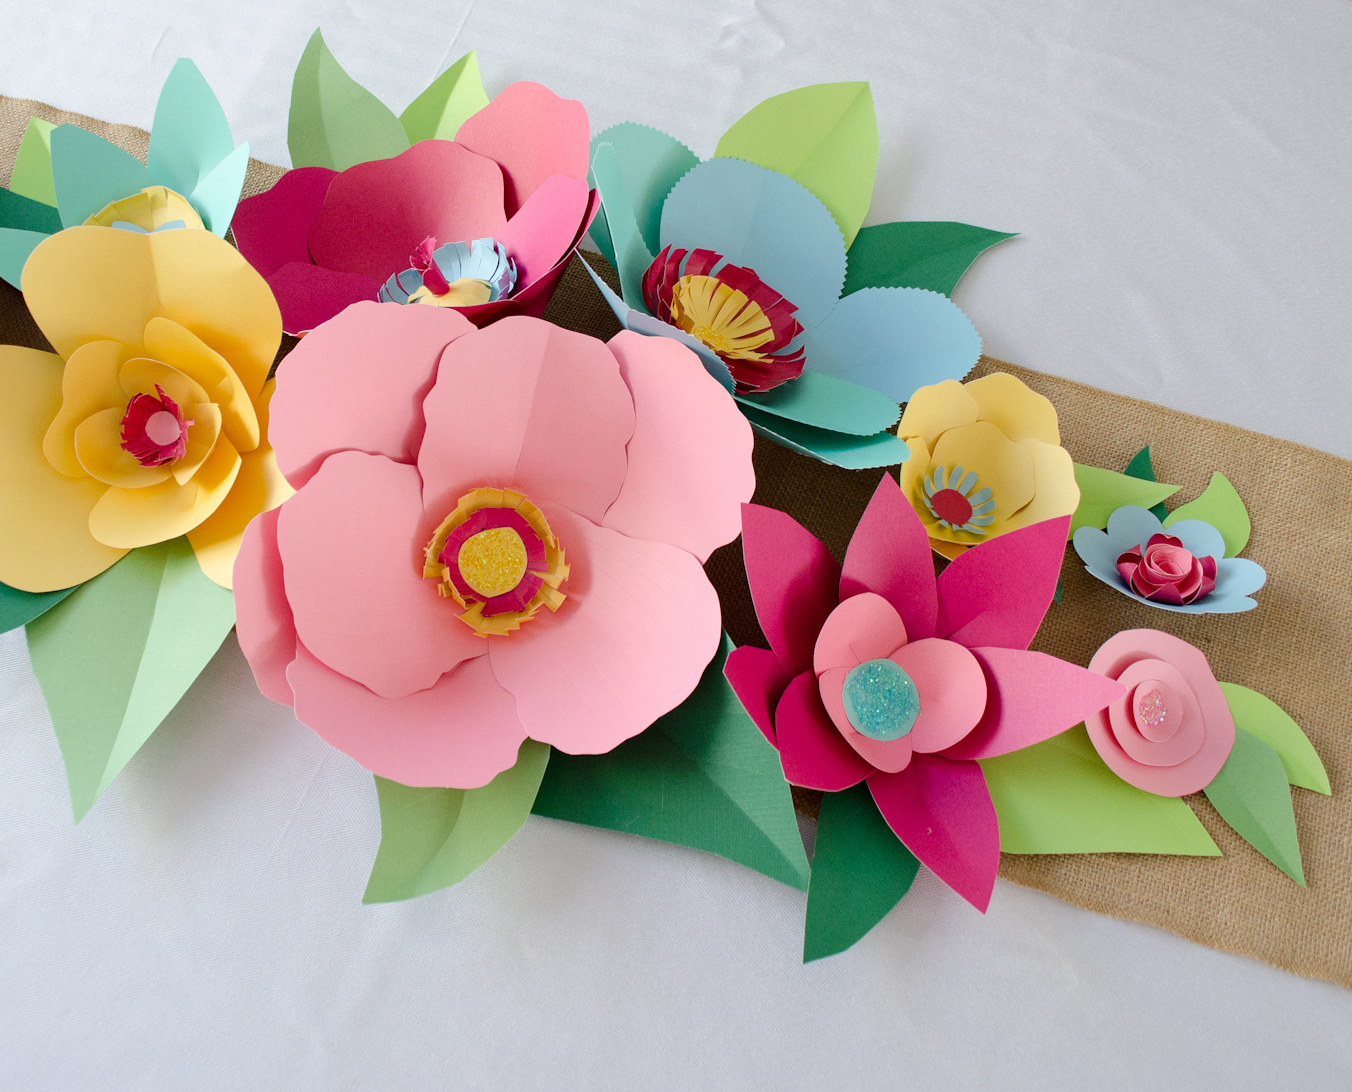
How To Make A Easy Paper Flowers - Have you ever wanted to create beautiful paper flowers but weren't quite sure where to start? Don't worry, it's easier than you think! With just a few simple steps, you can create stunning paper flowers that will add a touch of elegance to any room or event. In this post, we will show you five different paper flower patterns, along with some helpful tips and ideas to get you started on your paper flower-making journey. Let's get started!
Flower Pattern 1: Origami Tulip
Materials:
- Square sheet of paper

Tips & Ideas:
- To add some depth to your origami tulip, use two sheets of paper: one for the stem and one for the flower.
- Experiment with different colors and patterns to create a unique bouquet.
- If you want to make a larger tulip, start with a larger square of paper.
How To:
- Start with a square sheet of paper.
- Fold the paper diagonally to create a triangle.
- Unfold, and then fold the paper in half vertically.
- Unfold, and then fold the paper in half horizontally.
- Unfold the paper, and then fold each corner up to the center crease.
- Flip the paper over, and then fold the corners up to the center crease again.
- Fold the bottom of the paper up to the center crease.
- Flip the paper over, and then fold the bottom of the paper up to the center crease again.
- Rotate the paper so that the triangle shape is facing down.
- Fold the bottom corners up, creating a diamond shape at the bottom of the paper.
- Tuck the pointed edges of the diamond shape into the fold at the bottom of the tulip.
- You have now created an origami tulip!
Flower Pattern 2: Dimensional Paper Flowers
Materials:
- Colored paper
- Scissors
- Glue
Tips & Ideas:
- Use different shades of the same color to create an ombre effect.
- Make smaller versions of these flowers and glue them onto cards for a personalized touch.
- Use a stencil to create perfectly shaped petals every time.
How To:
- Cut out five petals from your colored paper. Each petal should be the same size and shape.
- Glue the petals together in a circular shape, with the edges slightly overlapping.
- Make a circular center for the flower by cutting a small strip of paper and rolling it into a tight circle.
- Glue the center of the flower to the middle of the petals.
- You have now created a dimensional paper flower!
Flower Pattern 3: Easy Crepe Paper Flowers
Materials:
- Crepe paper
- Scissors
- Green floral wire
Tips & Ideas:
- Use green floral tape to wrap around the wire stem of the flower to make it look more realistic.
- Experiment with different types of crepe paper, such as metallic or printed paper.
- Use different shades of the same color to create a graduated effect.
How To:
- Cut a rectangle of crepe paper, approximately 6 inches by 8 inches.
- Fold the crepe paper accordion-style, back and forth, making each fold about 1 inch wide. Continue until you have folded the entire piece of crepe paper.
- Wrap a piece of green floral wire around the middle of the folded crepe paper, twisting the ends of the wire together to secure the paper in place.
- Cut the two ends of the crepe paper into a rounded shape using scissors.
- Gently pull each layer of crepe paper apart to create a full, fluffy flower.
- You have now created an easy crepe paper flower!
Flower Pattern 4: DIY Paper Flower Garland
Materials:
- Colored paper
- String or ribbon
- Scissors
- Glue

Tips & Ideas:
- Use a hole punch to create a small hole at the top of each flower, then thread the string through the hole to create a garland.
- Use different colors and patterns of paper to create a rainbow of flowers.
- Make smaller versions of these flowers and glue them to a straw or wooden stick to create unique party decorations.
How To:
- Cut out several flowers in different sizes and shapes from the colored paper.
- Glue the flowers together in a layered pattern, with the largest flower on the bottom and the smallest flower on the top.
- Cut a small circle from the paper, and glue it to the center of the flower.
- Punch a small hole in the top of each flower, and then thread the string or ribbon through the holes to create a garland.
- You have now created a DIY paper flower garland!
Flower Pattern 5: Easy Tissue Paper Flowers
Materials:
- Tissue paper
- Scissors
- Green floral wire

Tips & Ideas:
- Use green floral tape to wrap around the wire stem of the flower to make it look more realistic.
- Experiment with different colors of tissue paper to create a vibrant bouquet.
- You can make multiple tissue paper flowers and wrap them into a bouquet!
How To:
- Cut several sheets of tissue paper into a square shape. The more sheets you use, the fuller the flower will be.
- Lay the tissue paper out flat, and then fold it accordion-style, making each fold approximately 1 inch wide.
- Tie a piece of green floral wire around the center of the folded tissue paper, twisting the ends of the wire together to secure the tissue paper in place.
- Cut the ends of the tissue paper into a rounded shape using scissors.
- Gently pull each layer of tissue paper apart to create a full, fluffy flower.
- You have now created an easy tissue paper flower!
With these five simple flower patterns, you can create a stunning bouquet or centerpiece for your next event or gift for friends and family. Don't forget to experiment with different colors, patterns, and sizes to make your flowers unique. Happy crafting!
Find more articles about How To Make A Easy Paper Flowers