How To Make A Flowchart On Word -
Introduction
Creating a flowchart in Word has never been easier. With the help of a few tools and tricks, you can turn your ideas into a clear visual representation of your thought process. In this post, we’ll explore various methods to create a flowchart in Word. Whether you’re a student, a professional, or just someone who enjoys visualizing their ideas, this post is for you!
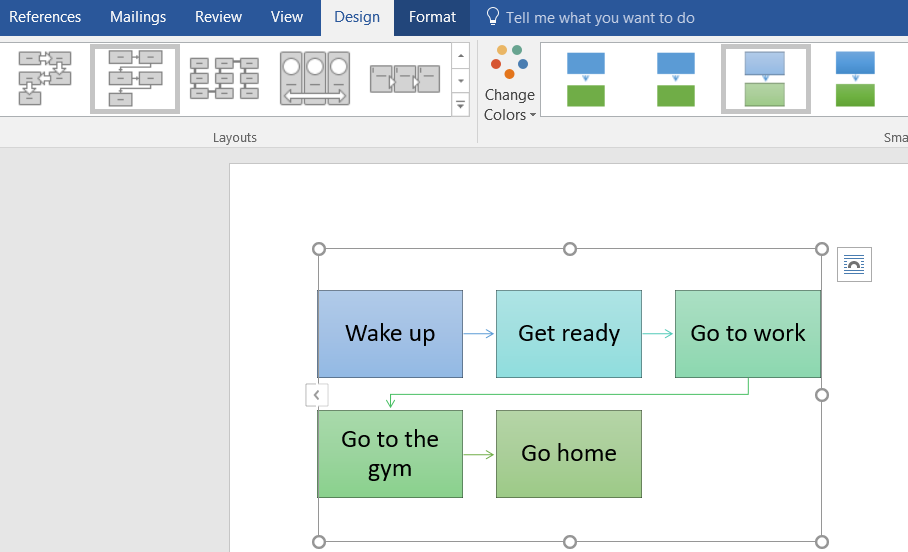
Method 1: Using Shapes or SmartArt
If you’re new to creating flowcharts, this method is perfect for you. It’s simple, quick, and easy to follow. Here’s how:
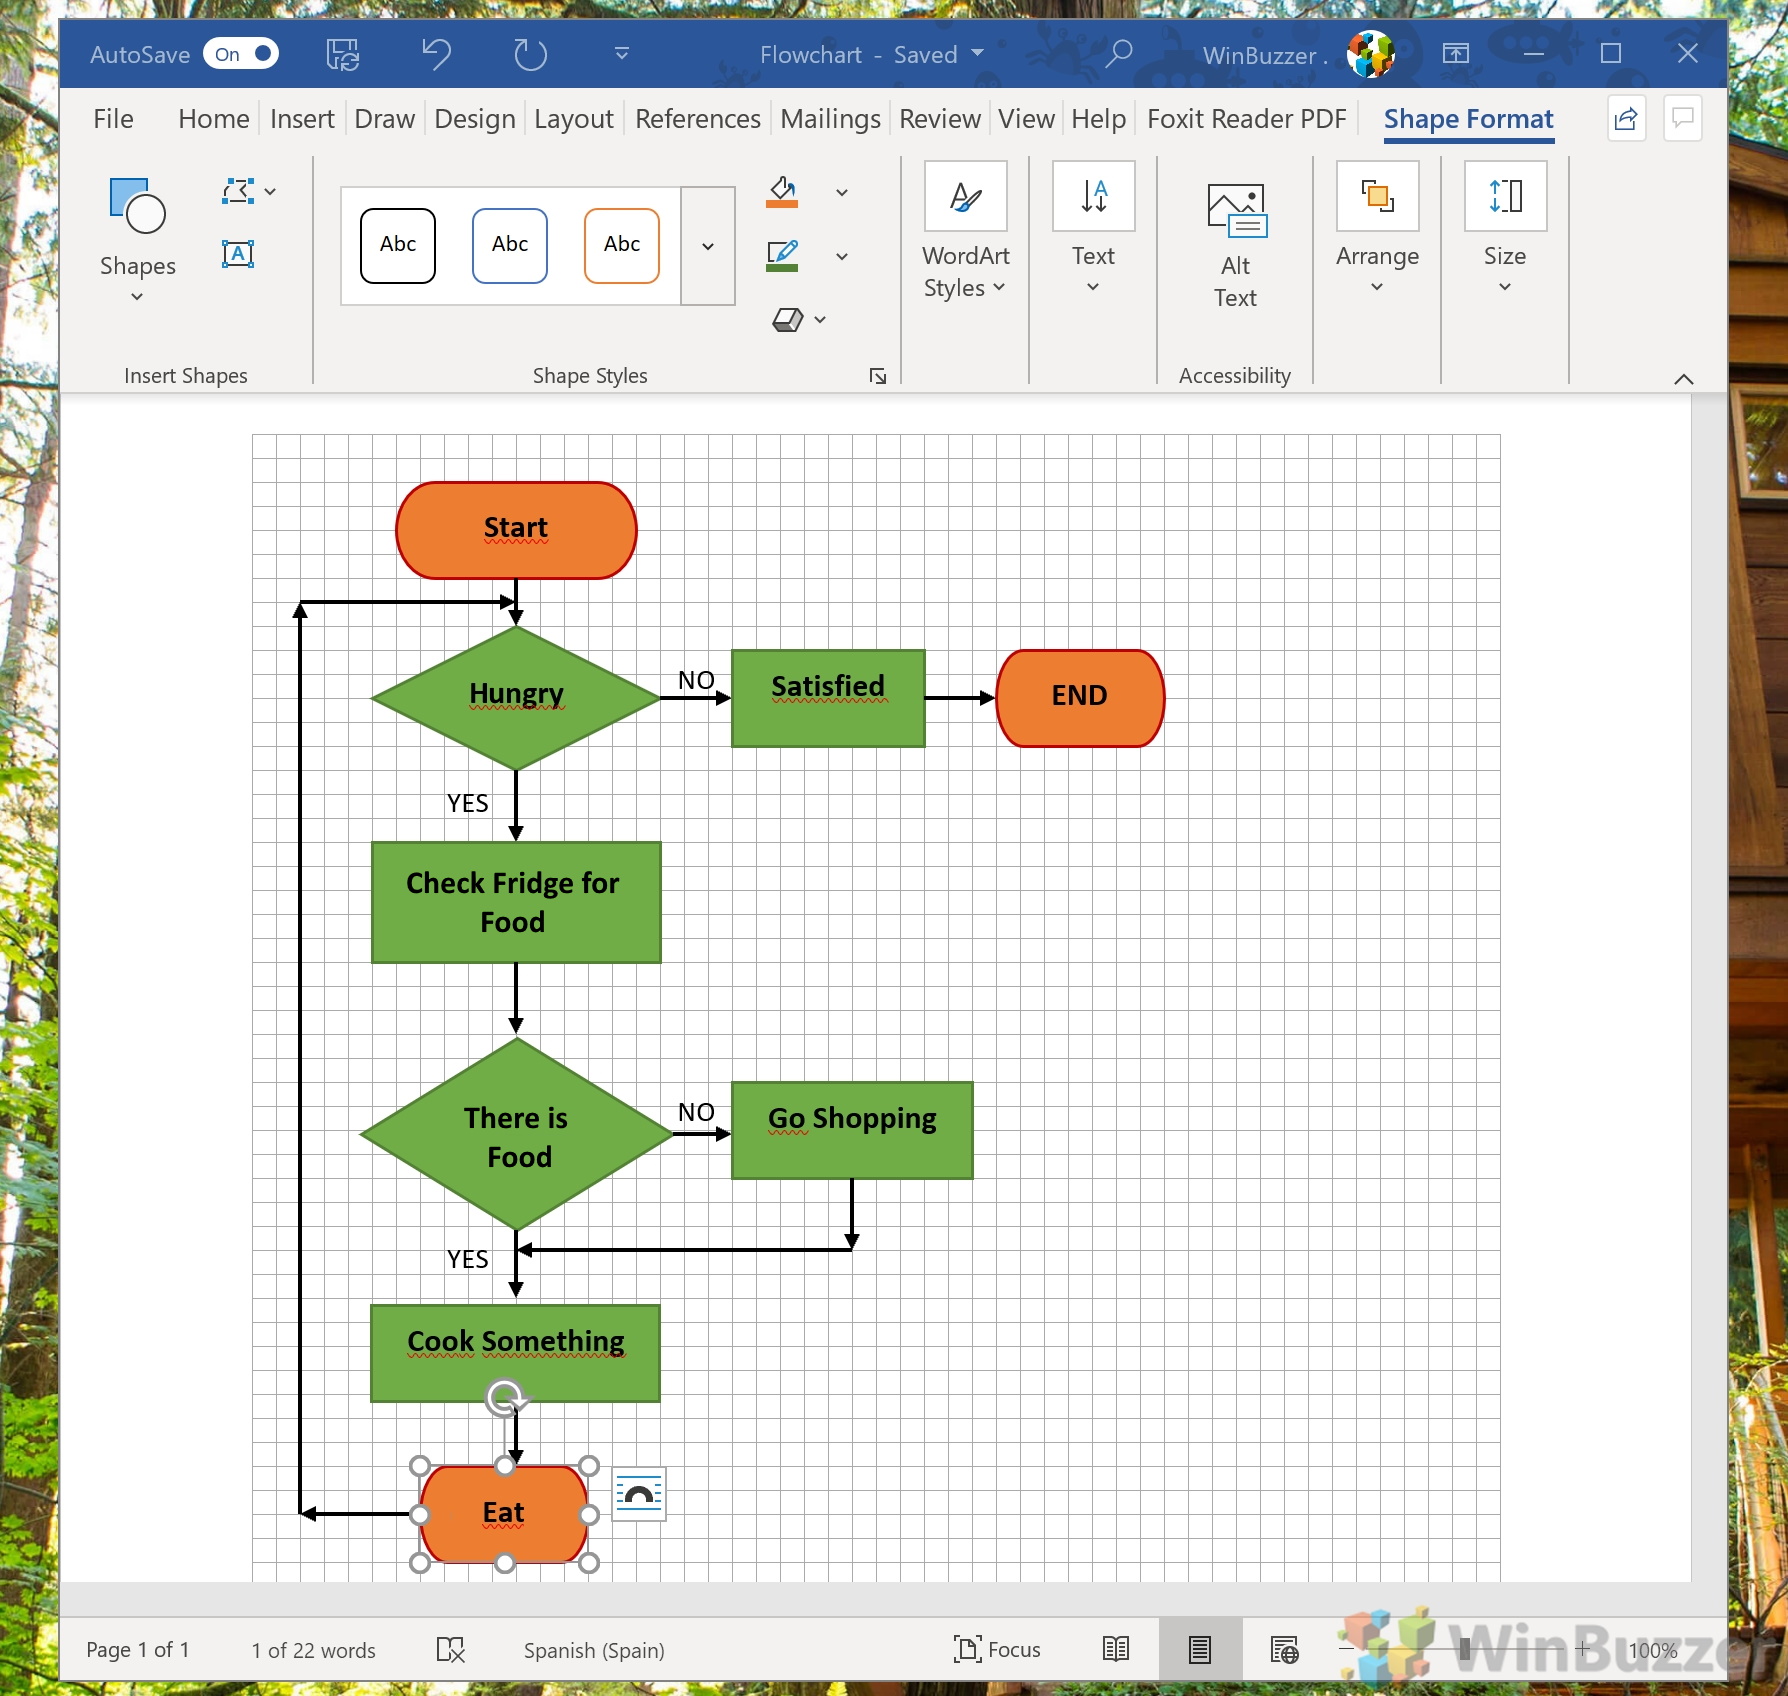
Step 1: Open Word and click on the “Insert” tab.
Step 2: Under the “Illustrations” group, click on “Shapes”.
Step 3: Choose the shape that you want to use for your flowchart. You can choose from various shapes like the rectangle, oval, diamond, and more.
Step 4: Click and drag the mouse to draw the shape.
Step 5: To add text to the shape, right-click on it and select “Add Text”.
Step 6: Repeat steps 3 to 5 for all the shapes in your flowchart.
Step 7: Connect the shapes by clicking on the “Insert” tab, selecting “Shapes”, and then choosing the “Line” option. Click and drag the mouse to draw a line connecting the two shapes.
Step 8: Repeat step 7 for all the shapes in your flowchart.
Method 2: Using Lucidchart
If you’re looking for a more advanced way to create flowcharts, Lucidchart is the tool for you. It’s a powerful software that allows you to create professional-looking flowcharts in minutes. Here’s how:
Step 1: Go to Lucidchart.com and sign up for a free account.
Step 2: Click on “New Document” and select “Flowchart”.
Step 3: Choose the flowchart template that you want to use.
Step 4: Drag and drop the various shapes onto the canvas.
Step 5: Use the “Connect” tool to connect the shapes.
Step 6: Customize your flowchart by adding colors, text, and images.
Step 7: Once you’re done, click on “Export” and choose “PDF” or “Image” to save your work.
Method 3: Using Microsoft Word Flowchart Template
If you’re in a rush and need a pre-made flowchart template, Microsoft Word has got you covered. Here’s how:

Step 1: Open a new Word document.
Step 2: Click on “File” and select “New”.
Step 3: Type “flowchart” in the search bar and hit enter.
Step 4: Choose the flowchart template that you want to use.
Step 5: Customize your flowchart by adding colors, text, and images.
Step 6: Once you’re done, save your work and export it as a PDF or an image.
Flowchart Tips and Ideas
Now that you know how to create a flowchart in Word, here are some tips and ideas to make your flowchart even better:
Tip #1: Keep it simple
The purpose of a flowchart is to simplify complex ideas, so it’s important to keep it simple. Stick to a few basic shapes and use color coding for clarity.
Tip #2: Use clear and concise language
Your flowchart should be easy to understand, and the language used should reflect that. Use short phrases and avoid technical jargon.
Tip #3: Test your flowchart
Before finalizing your flowchart, test it out with someone who is unfamiliar with the topic. This will help you identify any areas that need further clarification.
Tip #4: Use images and graphics
Images and graphics can help reinforce your ideas and make your flowchart more visually appealing. Just make sure they don’t detract from the clarity of your flowchart.
Conclusion
Creating a flowchart in Word is simple and easy. Whether you’re a student, a professional, or just someone who likes to organize their thoughts visually, flowcharts are a useful tool to have in your arsenal. By following the steps outlined in this post, you’ll be able to create flowcharts in no time. Just remember to keep it simple, use clear language, and test your flowchart before finalizing it. Happy charting!
Find more articles about How To Make A Flowchart On Word